 |
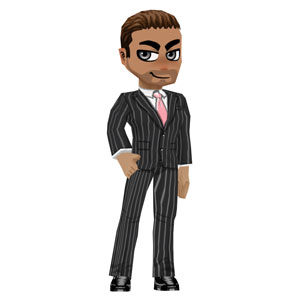
Hi5.com Avatars - unplublished work3d Studio Max - UV layout, Skinning, Modeling I created this character's hair and clothing for the Hi5.com avatar system. I used Hi5's proprietary tools to create and export avatars into their flash game engine. |
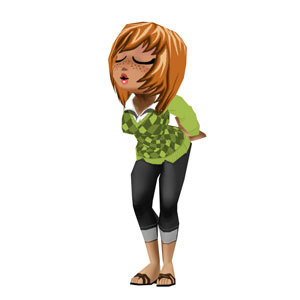 |
Hi5.com Avatars - unpublished work3d Studio Max - UV layout, Skinning, Modeling I created this character's hair and clothing for the Hi5.com avatar system. I used Hi5's proprietary tools to create and export avatars into their flash game engine. |
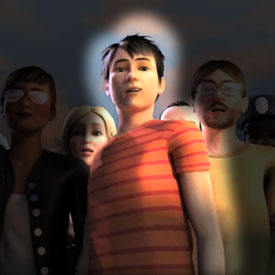 |
The Sims 3 CommercialMaya - sculpting using proprietary tools by Electronic Arts, procedual textures, texture maps generated with proprietary tools by Electronic Arts This commercial was created at EA Redwood Shores and the featured character seen here was one I assembled and sculpted using proprietary tools from EA. |
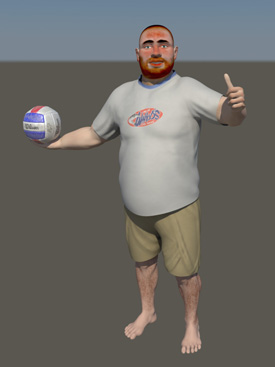 |
Beach Volleyball characterMaya - modeling (polw poly mesh), procedural textures This beach volleyball character was created for my thesis project at the Academy of Art University. It started as a 900 poly mesh in Maya and eventually became a 250,000+ poly mesh after it was detailed and subdivided in Zbrush. Zbrush was used to paint in 3d to help solve the problem of painting over seams and to get some good detail with the hair. |
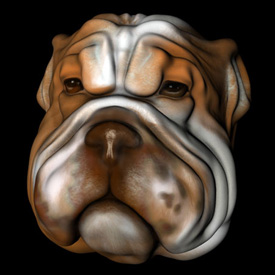 |
Wrinkly Dog Maya - base mesh modeling and procedural shaders This dog was initially created to do a displacement test using Maya and Zbrush. After creating a low poly mesh in Maya (~180 polys) I used Zbrush to detail the dog and paint textures. The displacement map was then exported and used as a bump map for a high poly mesh. |
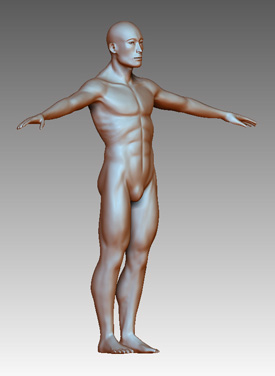 |
Anatomy StudyThis render is an anatomy study using Maya and Zbrush. I've found that sculpting in Zbrush allows you almost as much control as actually sculpting clay. And the best part about it is that the clay never dries out. |

![]()
![]()
![]()
![]()
![]()